Fascinators - The DIY Way
 |
| This is me wearing one of my handmade fascinators to a Wedding |
I am putting this post up as I have had some many compliments on my DIY fascinators and love making them. They take about 30 minutes to make and really you can use what you have in your stash of beads, fabrics and voile's /nets.
I usually prepare in advance, I make sure I have
1. A piece of fabric to cover the fascinator.
2. A piece of felt to cover the stitching on the underneath.
3. A piece of net to add to the fascinator to make it look professional, widows net if you can get it.
4. A few faux flowers, I find home stores such as Dunelm, Next or craft stores such as Hobbycraft in the UK do a good range.
5. Sewing thread to stitch with and a few beads for sparkles! (make sure you have the correct beading needle if you buy beads.)
If you don't fancy stitching you can always use a glue gun but the end result is not as professional.
Most of us have this hanging around in our craft boxes.
You will also need -
1 plastic bottle such as mineral water bottle
1 pair of craft scissors
1 espresso saucer
20 cm of bias or cord biased with a fabric for advanced crafter's
1 pencil and A4 paper
1 Alice head band (you can buy these from most accessory shops, sometimes if I like the band, I cut off the flowers /decoration on it)
Let's Create!
1. You first need a template for your fascinator, take a small plate and trace around it and cut out. Then lay this over your plastic bottle so it curves.
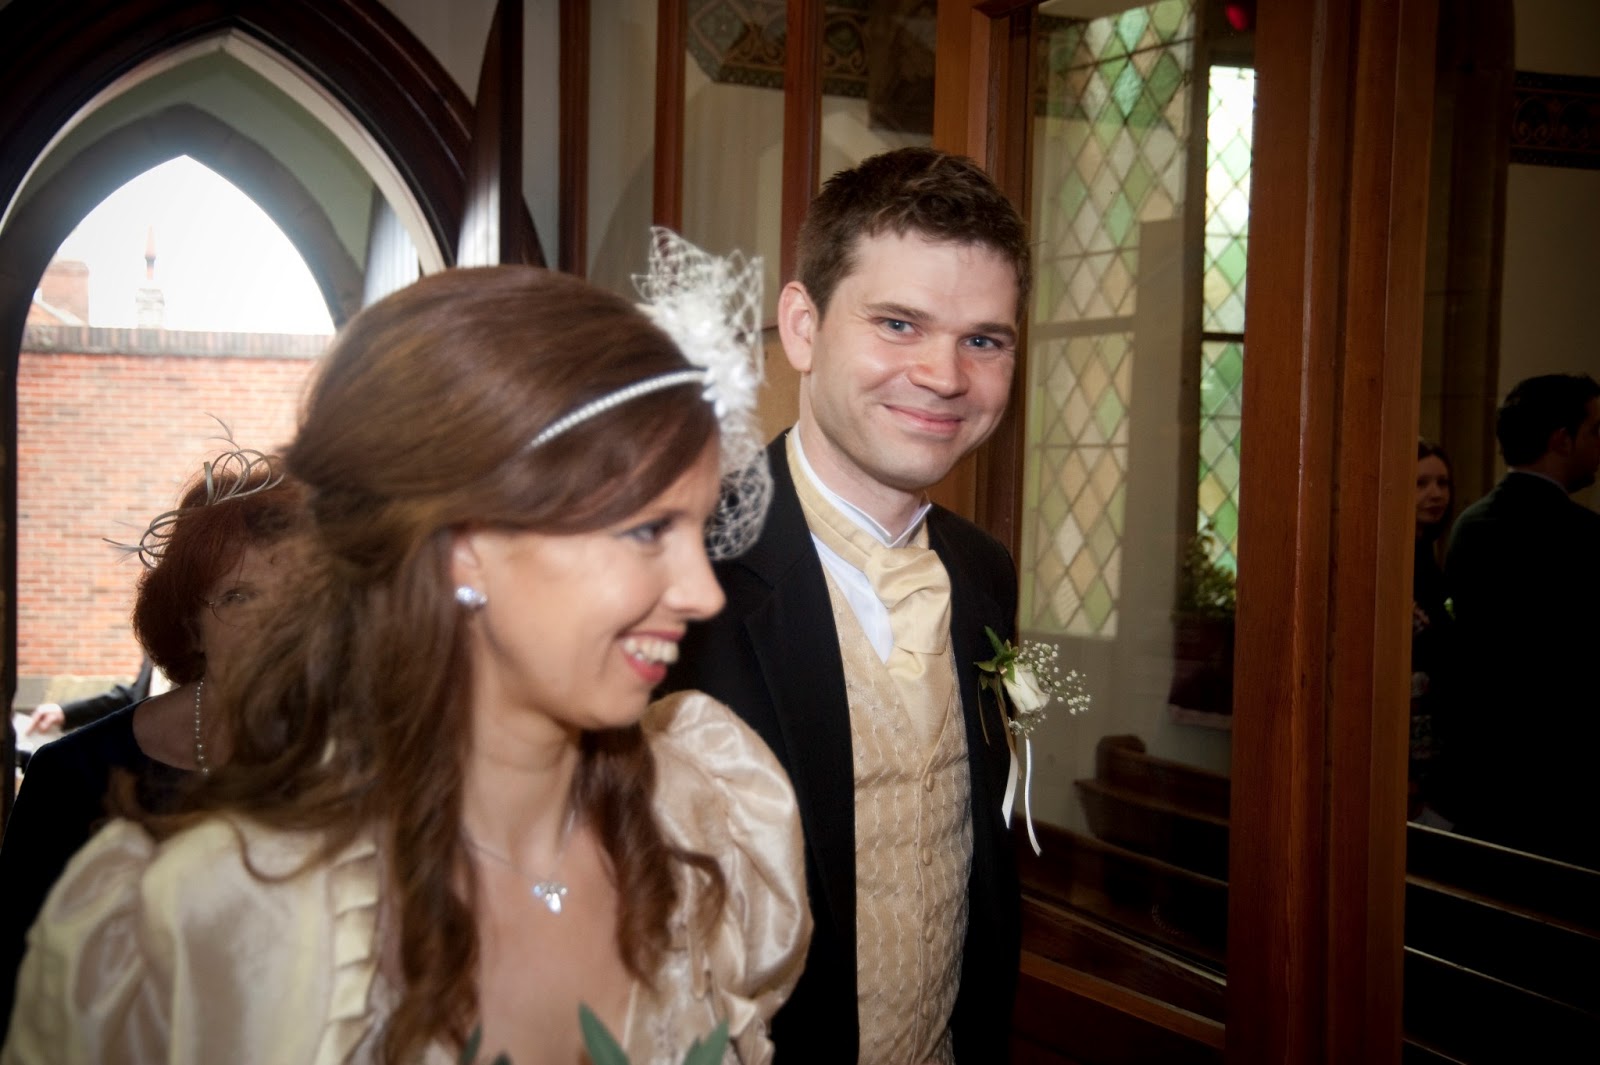 |
| Wearing a handmade fascinator on my Wedding Day |
copyright E Taylor 2010
3. Then with the template cut a piece out of the felt and a piece out of the fabric to cover it leaving 1 cm turning.
4. With all three pieces, you can then start to make the fascinator. Lay the fabric onto of the plastic and stitch on with a strong needle in big stitches. This is your base.
5.The idea is to cover the fascinator so that the fabric is just peeking out. This is where you can get create. Find where the top and bottom is and stitch onto the fascinator base.
6. Remember you can cover your raw ends of faux flower stems with beads, trimmings so don't worry about stitching too neatly.

8.Attach your Alice band at each side of the fascinator with very strong stitches. Cover this with a felt pad and stitch in place.
I love making these and once you get your own style the sky is the limit.
 |
| some of my handmade fascinators which can be made at my workshops |
Contact me for more information.
Bye for now!


No comments:
Post a Comment